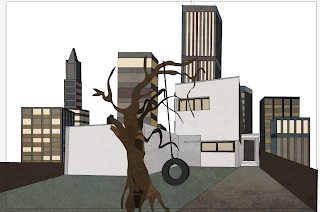
Here I have shown some screenshots of the process taken to create the city for Scene 1.
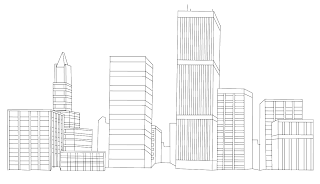
I traced over an image of a city in illustrator using the line tool.
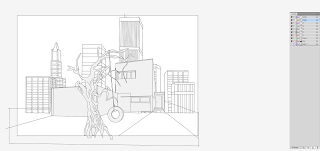 Then in illustrator built the rest of the scene with the house and tree, which i have shaded to see the scene clearer without an overload of lines.
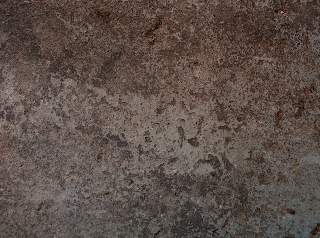
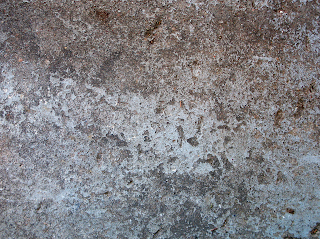 I then got textures such as this one from the internet. These textures are large and of very good quality. I then take them into Photoshop for manipulation.
 With the above texture on one layer, I fill in another layer with a colour like this which has been selected from my colour palette. I play around with these layer's orders and the blend options.
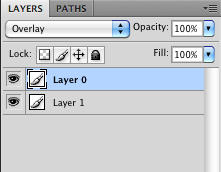 here is a screenshot of the two layers with the overlay option selected. I then play with the opacity and fill options until I reach my desired result.
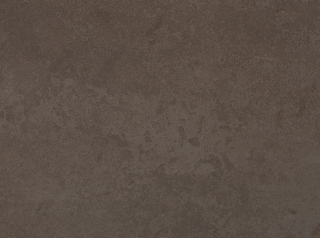 This is the final texture that I am happy with. I create a few more textures like this and then change their colours before loading them into illustrator and applying them to my objects using the live paint bucket tool.
No comments:
Post a Comment